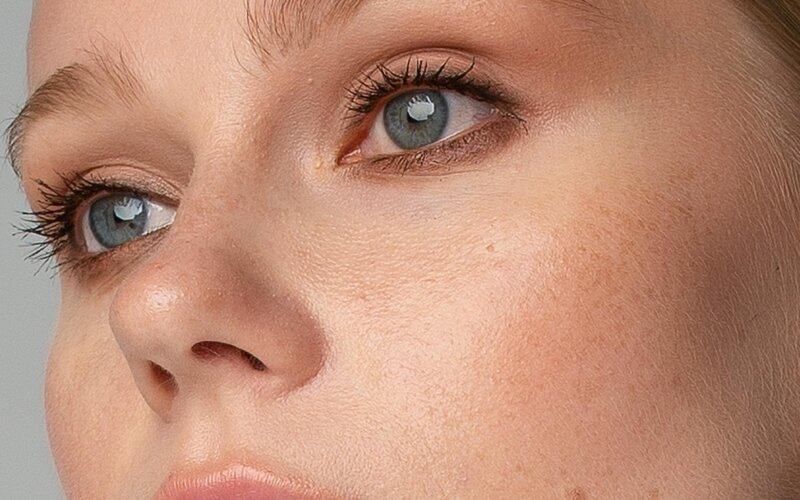
Curled fluttery lashes are what we love without using too much mascara. Lashes are one of the most defining features of your eyes, framing them beautifully and adding an element of charm. Long, curled lashes can open your eyes and give you a more awake and youthful appearance. While mascara does wonders for darkening and thickening your lashes, a lash curler gives them that upward lift. It is made of metal and has clamps. This tool is a game-changer, especially if your lashes are straight or droop downward. It can instantly brighten your eyes and create a more dramatic look. The key to using these is to get a good quality eyelash curler. After curling your lashes, you can do pretty much any makeup effect you want. Let’s dive more into how to curl lashes….
The Need for a Lash Curler
- Opens Up the Eyes: One of the biggest benefits of curling your lashes is that it opens up your eyes, making them look larger and more awake. Straight lashes can make the eyes appear smaller, but curling them lifts the lashes upwards.
- Enhances Mascara’s Effect: When used before mascara, a lash curler boosts the effect of any product you apply, whether it’s a volumizing or lengthening mascara. The curl sets the stage for the mascara to coat each lash evenly, making them look fuller and longer.
- Prevents Drooping Throughout the Day: Many people, especially those with straight or downward-pointing lashes, experience their lashes falling flat after a few hours. Curling them beforehand helps them maintain their shape throughout the day.
- Natural Yet Dramatic Effect: For those who want a natural look without falsies or lash extensions, curling your lashes can give them a natural uplift.
How to Curl Lashes: Step-by-Step Guide
Step 1: Start with Clean Lashes:
Before you begin, ensure that your lashes are clean and free from mascara or any other makeup products. Curling your lashes after applying mascara can lead to clumping, and in some cases, it can pull out or damage your lashes. Clean lashes give you a fresh base for curling and applying mascara afterward.
Step 2: Warm the Lash Curler (Optional):
This step is optional but highly effective. Warming up your lash curler slightly with a hairdryer for 5-10 seconds can make the curling process more efficient, much like how curling irons work better on warm hair. Be cautious not to overheat it—test the temperature on the back of your hand before bringing it close to your eye.
Step 3: Position the Curler at the Base of Your Lashes:
Open the lash curler fully and position it as close to the base of your upper lashes as possible without pinching your eyelid. The curler should sit comfortably over your lashes and align with the curve of your eye. Be sure that all your lashes are inside the curler before you begin to squeeze.
Step 4: Squeeze Gently:
Once the curler is in position, gently press down on the handles. Hold the pressure for about 5-10 seconds. Avoid squeezing too hard, as this can cause your lashes to break or give them a crimped look rather than a smooth curl.
Step 5: Move to the Middle of Your Lashes:
After curling the base of your lashes, move the curler a little further up toward the middle of your lashes. Repeat the process by gently squeezing and holding the curler for another 5-10 seconds. This creates a more natural curl rather than a harsh bend at the base of your lashes.
Step 6: Curl the Tips of Your Lashes:
For the final step, move the lash curler to the tips of your lashes. Squeeze and hold again for 5-10 seconds. Curling the lashes at different points—base, middle, and tips—ensures a natural, fanned-out effect rather than just curling them at one spot.
Step 7: Apply Mascara:
Once you’ve finished curling both sets of lashes, apply your favorite mascara. Start at the base of your lashes and wiggle the wand upward to coat each lash evenly. The mascara will help hold the curl in place throughout the day.
Top Lash Curler Recommendations
There are many lash curlers on the market, but some stand out for their quality, effectiveness, and comfort. Here are a few top recommendations for lash curlers that beauty experts swear by:
1. Shiseido Eyelash Curler The Shiseido Eyelash Curler is a cult favorite. It’s especially loved by those with shorter lashes or smaller eyes because it can reach every lash without pinching the skin. The ergonomic design ensures comfort, and the results are consistently smooth, lasting curls.
2. Shu Uemura Eyelash Curler Considered the gold standard in the world of lash curlers, the Shu Uemura Eyelash Curler has won countless beauty awards. It’s designed with a gentle curve and an optimal hinge that delivers the perfect amount of pressure for a natural curl. Its flexible silicone pad adds to the comfort and ensures lashes don’t get damaged.
3. Surratt Beauty Relevée Lash Curler If you’re looking for a high-end lash curler, the Surratt Beauty Relevée Lash Curler is a top-tier option. This curler has a smooth mechanism and creates a dramatic, long-lasting curl without crimping.
4. Tweezerman Classic Lash Curler For a budget-friendly option, the Tweezerman Classic Lash Curler is a reliable choice. It has a simple, no-frills design that gets the job done effectively.
5. Kevyn Aucoin The Eyelash Curler The Kevyn Aucoin Lash Curler is another beloved option, with a sturdy construction and well-designed curve. It’s great for getting close to the lash line without pinching and provides a consistent curl that lasts for hours.
6. Revlon Extra Curl Eyelash Curler Revlon is a popular drugstore brand, and their Extra Curl Eyelash Curler offers good performance for a reasonable price. It’s perfect for those who are just starting with lash curlers.
Final Tips:
To conclude I want to share a few tips that might help you in the long run:
- Replace Your Lash Curler Pads Regularly: Lash curler pads can wear out over time, reducing the effectiveness of your tool. Replacing them every 3-6 months ensures your curler continues to work well.
- Don’t Over-Curl: Be mindful of overusing the lash curler or pressing too hard, as this can weaken your lashes over time.
- Clean Your Lash Curler: To maintain hygiene and avoid any bacteria buildup, wipe down your lash curler regularly with a makeup wipe or gentle cleanser.
Also Read:
One and Done Eyeshadow: My New and Recent Obsession


