Do you have a fascination with sun-kissed glow? Bronzer is what you are looking for. This beauty essential is a versatile product that can add warmth, depth, and dimension to your face, giving you that sun-kissed glow without sun damage. However, achieving the perfect bronzed look can be tricky if not done correctly. Here are a few steps to apply bronzer like a pro.
#1. Choose the Right Shade of Bronzer
Who doesn’t love sculpted bronzed cheeks? It leads us to choose the darkest shade which might look muddy or ashy. The key is choosing a bronzer one to two shades darker than your natural skin tone. For those with a fair complexion, avoid overly warm tones and instead select a bronzer that complements your skin’s undertones. This ensures a more natural and flattering finish. Medium skin tones should go for warm, golden tones, while deeper skin tones look stunning with rich, coppery, or deep brown bronzers.
Experts recommend avoiding bronzers that are too orange or too dark, as they can look unnatural. Test the bronzer on your jawline to ensure it blends seamlessly with your skin tone.
#2. Select the Right Formula
Bronzers come in various formulas: powder, cream, liquid, and stick. The choice of the formula depends on your skin type and the look you’re going for.
Powder Bronzers: Best for oily or combination skin, powder bronzers are easy to apply and blend, making them ideal for beginners. They provide a matte or slightly shimmery finish, perfect for a natural look.
Cream Bronzers: These are ideal for dry or mature skin as they offer a dewy, hydrating finish. Cream bronzers blend seamlessly into the skin, giving a more natural, skin-like appearance.
Liquid Bronzers: These offer a sheer, luminous glow and are great for normal to dry skin. They can be mixed with foundation or applied directly for a subtle bronze. This gives that perfect sun-kissed glow.
#3. Use the Right Tools
The tools you use to apply bronzer are just as important as the product itself. For Powder Bronzer use a large, fluffy brush with a tapered end. The size of the brush helps to diffuse the product evenly across your face, while the tapered end allows for more precise application. For Cream or Stick Bronzer opt for a dense, synthetic brush or a makeup sponge. These tools help to blend the product seamlessly into the skin without leaving streaks. For Liquid Bronzer, a damp makeup sponge or your fingers work best to blend the product into the skin for a natural finish.
#4. Bronzing or contouring
A common mistake when applying bronzer is putting it directly on the face without prepping the brush. Always blend the bronzer on the back of your hand first to remove any excess product before applying it to your face. It’s better to build up the color gradually than to try and fix too much bronzer on your skin. Ideally, blend the bronzer outwards and upwards for a more natural finish.
#5. Identify the Areas of Bronze
The purpose of bronzer is to mimic where the sun naturally hits your face. The key areas to focus on are the forehead, temples, cheeks, and jawline. Experts often refer to this as the “3E” method, as the areas to bronze form the shape of a ‘3’ on one side of your face and an ‘E’ on the other. Sweep the bronzer across your hairline. This helps to add warmth and make the face appear slightly shorter. Apply bronzer to your temples and blend it down towards the hollows of your cheeks. This adds depth and dimension, giving your face a more sculpted appearance. Finish by applying bronzer along your jawline and blending it down your neck. This step ensures a seamless transition and prevents any harsh lines.
#6. Apply the Bronzer
Swirl your brush into the bronzer, tap off the excess, and lightly sweep it across your forehead, temples, cheeks, and jawline. Use a light hand and build the color gradually. Blend in circular motions to avoid harsh lines. In case of liquid or cream bronzer, apply the product directly to the areas you want to bronze. Use a brush or sponge to blend it into the skin using dabbing or stippling motions. Start with a small amount of product and build it up as needed. Use a damp sponge or your fingers to blend it out. Pat and press the product into the skin for a seamless finish.
#7. Glowy bronzers are trending
When choosing the right bronzer, look for a finish that isn’t too glittery, otherwise, you won’t have any control over where highlights are placed on the face. A subtly shimmering bronzer is good, but it shouldn’t contain any glitter pigments. It is better to use a highlighter in addition.
If you want a sun-kissed glow and like to work with liquid products, you can also take a serum and put the brush that has bronzer on it into the serum. Then you have a liquid bronzer and apply that. This gives you more options for blending the product.
#8. Mistakes to Avoid
Even with the best techniques, it’s easy to make mistakes when applying bronzer. Here are some common pitfalls and how to avoid them:
Using the Wrong Shade: Avoid using a bronzer that is too dark or too orange for your skin tone. Always choose a shade that complements your natural complexion.
Over-applying: Less is more when it comes to bronzer. Start with a small amount of product and build it up gradually.
Not Blending Properly: Harsh lines can make your bronzer look unnatural. Take your time to blend the product seamlessly into your skin.
Skipping the Neck: To avoid a stark contrast between your face and neck, always apply a bit of bronzer to your neck and décolletage.
My Top Bronzers at the moment:
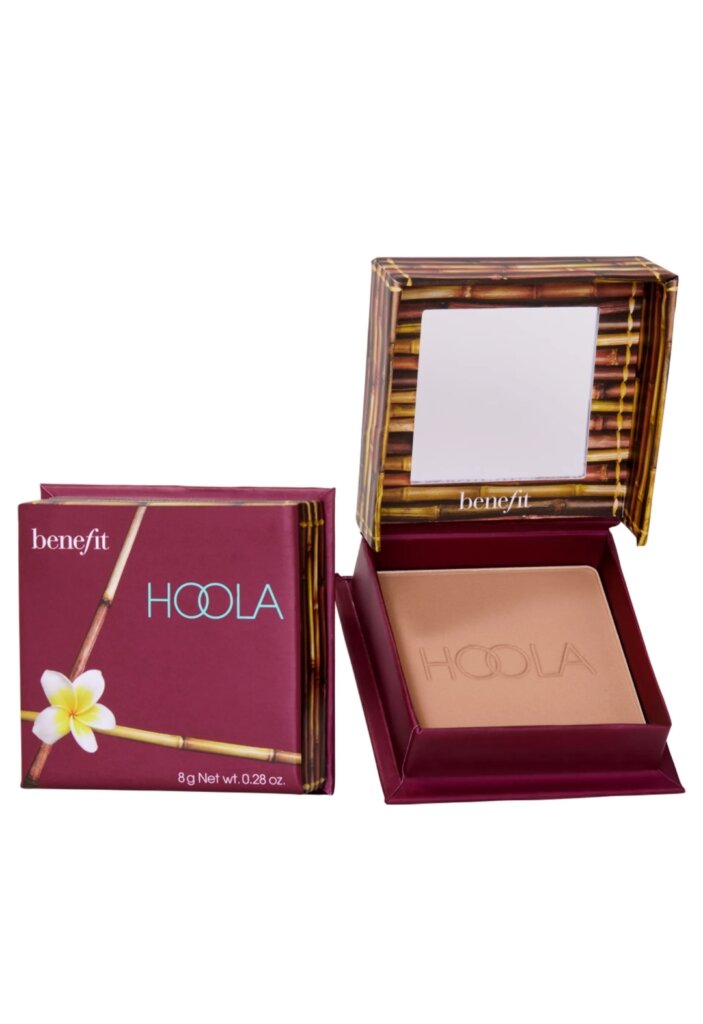

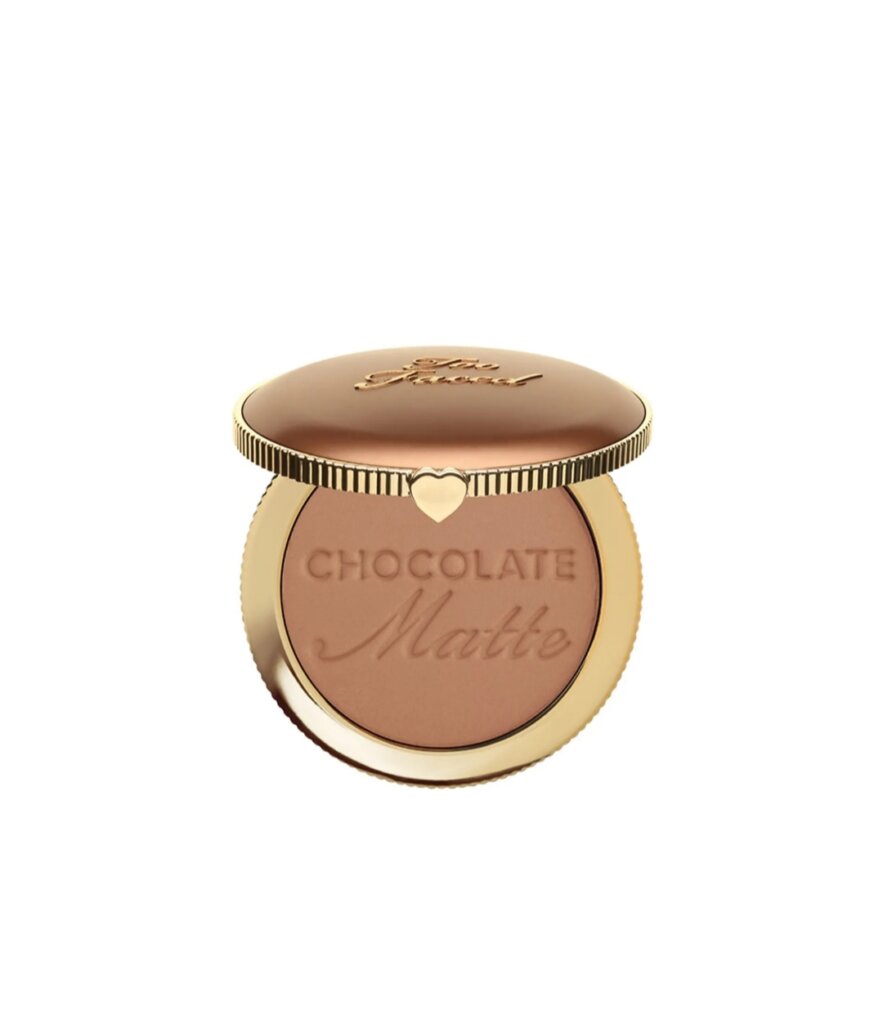
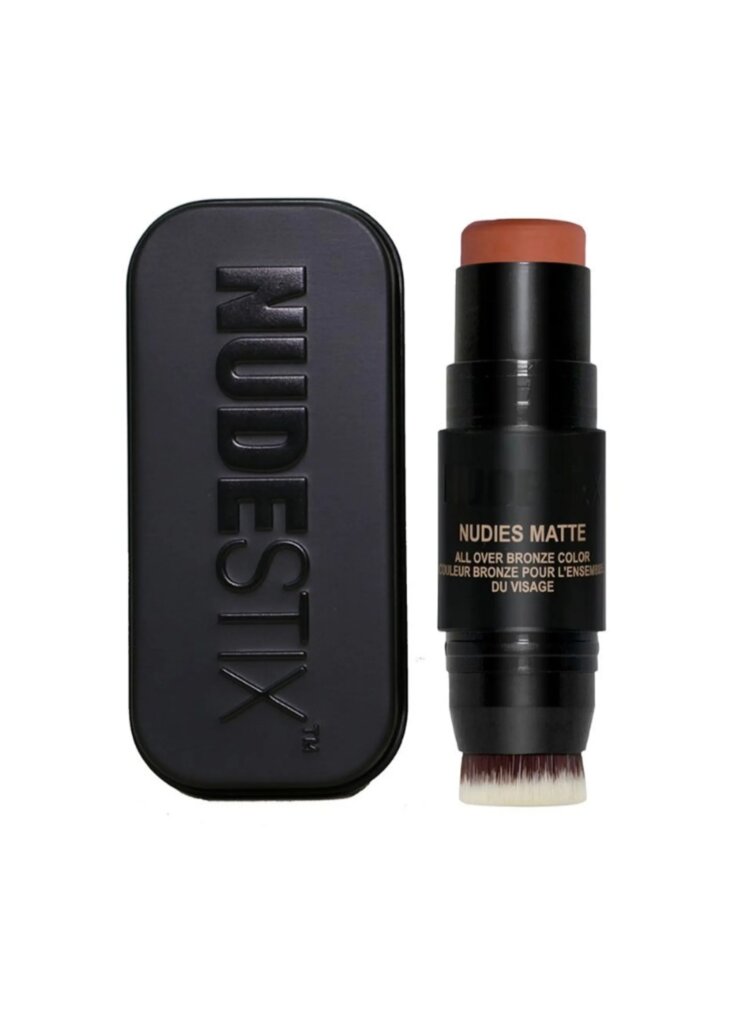
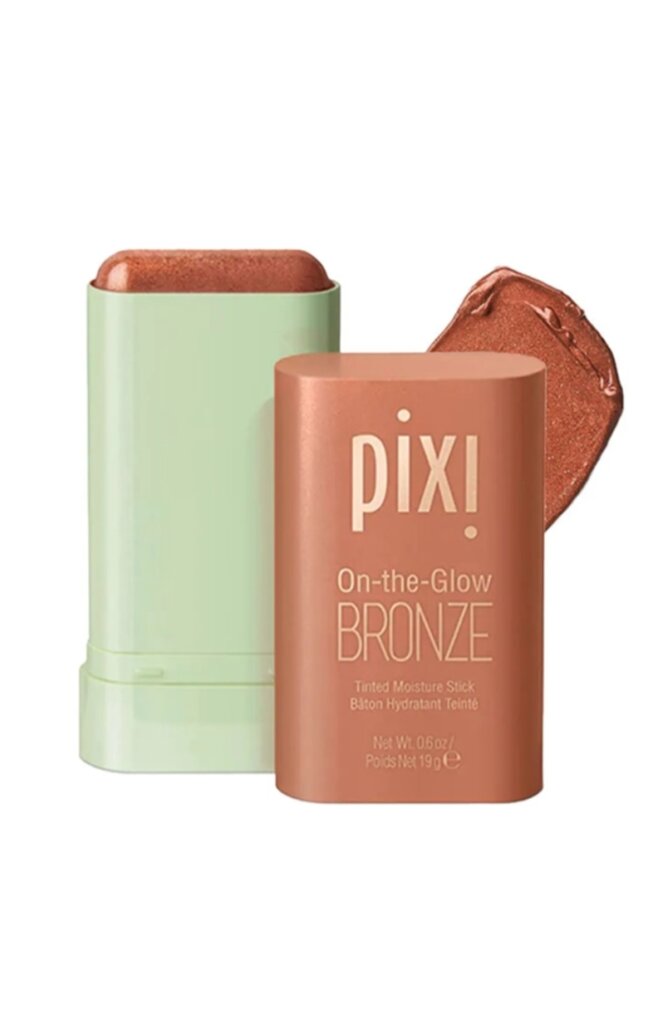
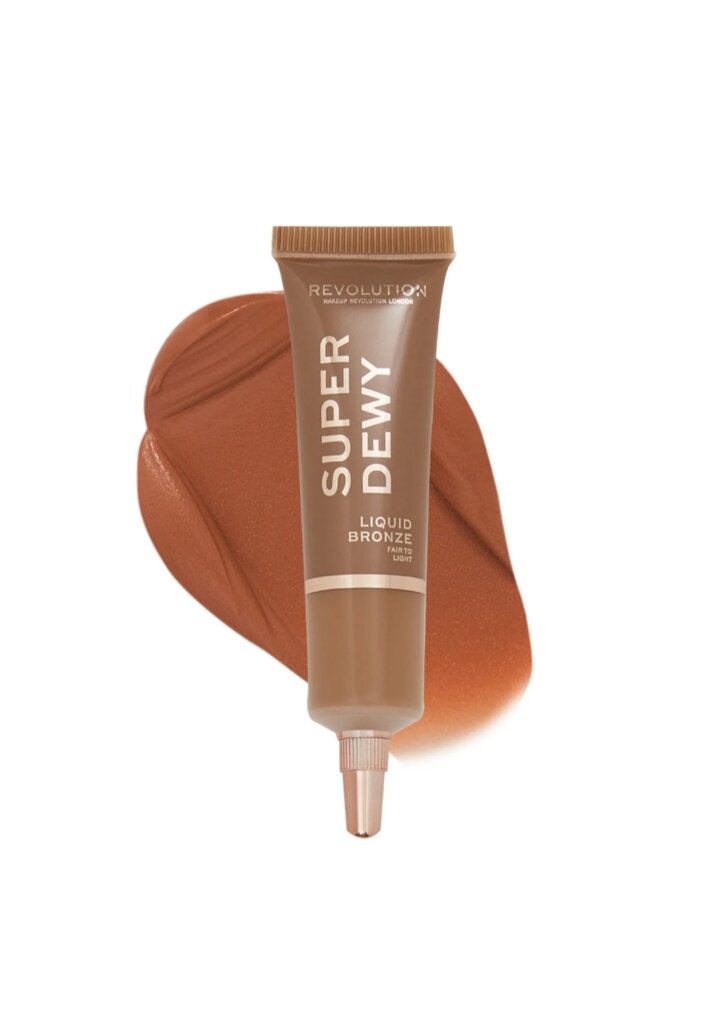
Buy Here
Also Read:
Celebrity-Worthy Soft Bronze Makeup Look this Summer!
startup talky I do not even understand how I ended up here, but I assumed this publish used to be great
Program iz I do not even understand how I ended up here, but I assumed this publish used to be great