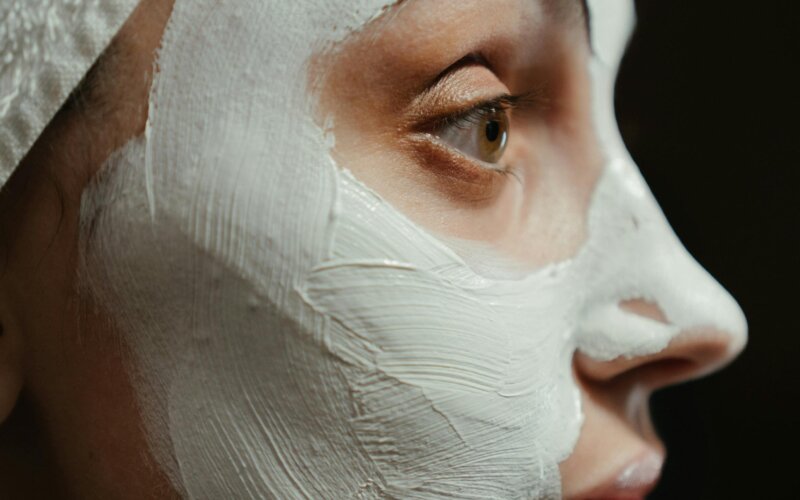
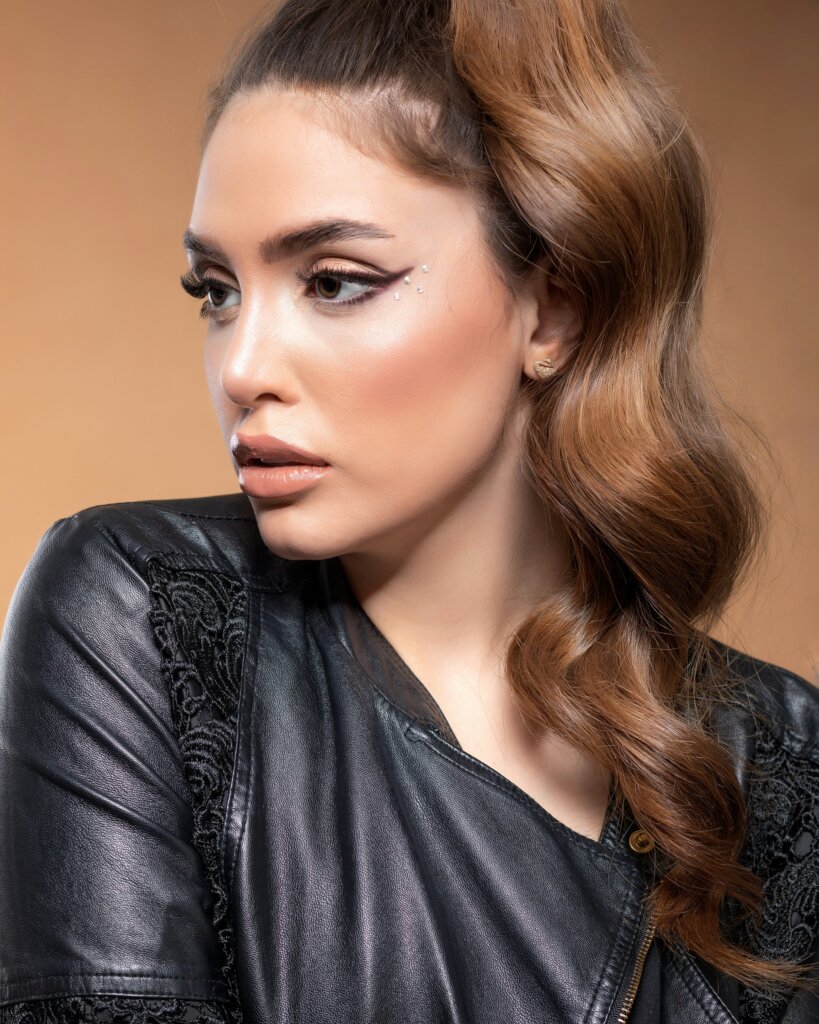
Welcome, beauties, to the magical world of contouring, where we transform our faces from “meh” to mesmerizing with just a few strokes of makeup products! If you’ve ever wondered how your favorite celebs and influencers achieve those perfectly chiseled cheekbones and jawlines, you’re in for a treat. In this read, I’m spilling all the tea on contouring like a pro, from choosing the right colors to flaunting your makeup like a boss.
What is Contouring?
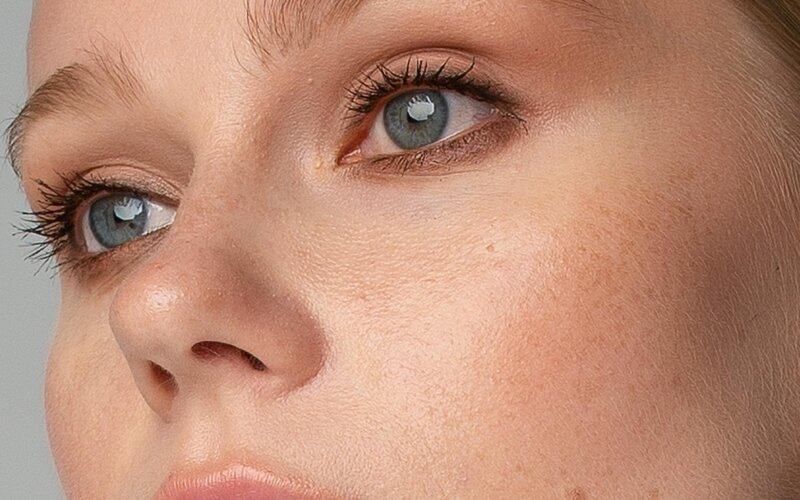
Contouring is like Photoshop for your face, but without the hassle of learning complicated software (thank the makeup heavens for that!). It’s all about using the right darker shades to create shadows and lighter shades to highlight, effectively sculpting your features for a more defined and balanced look. Think of it as artistry for your face – you’re the Michelangelo of makeup, darling! Like him, you are about to sculpt your face. An ideal face shape is ‘OVAL’, and you just have to see what to hide under contouring.
Should I Use Warm or Cool Colors to Contour?
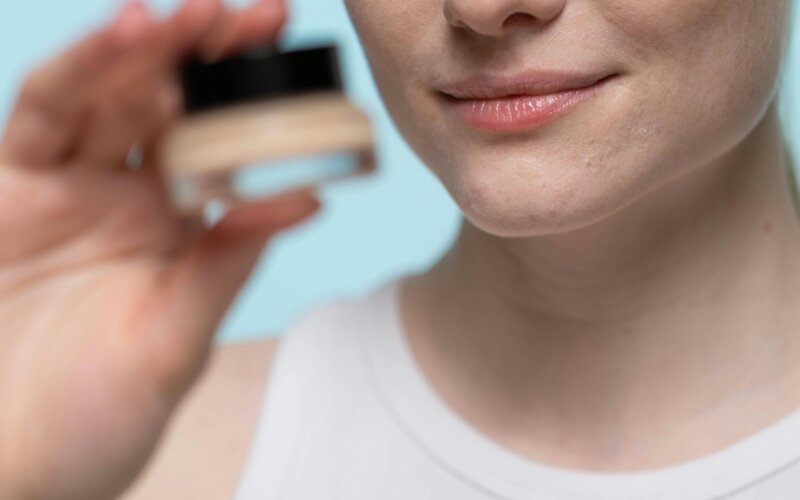
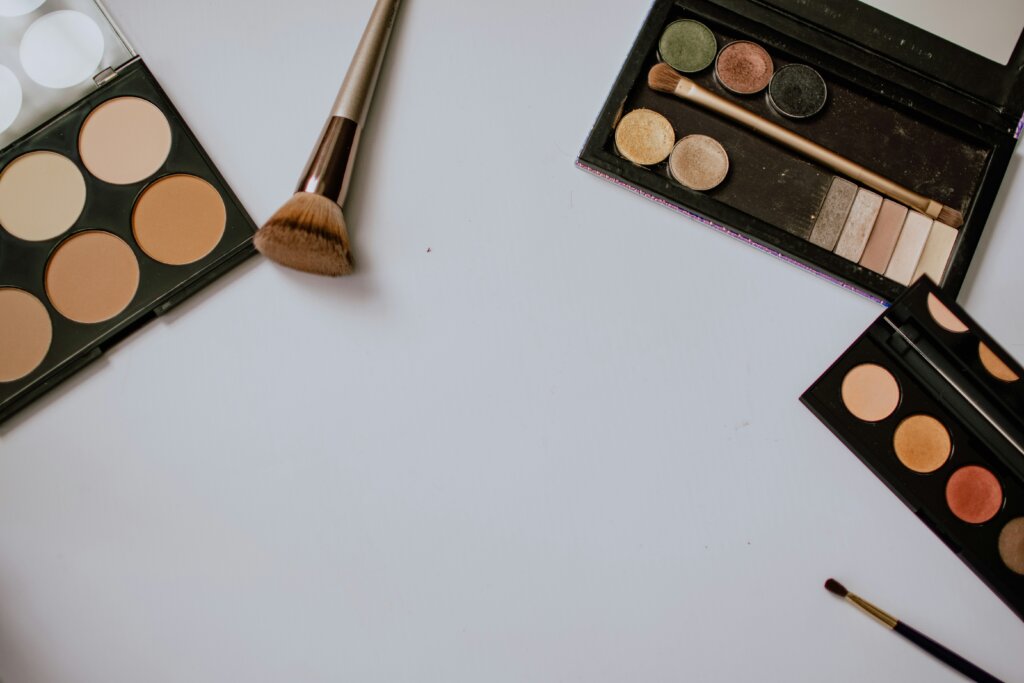
While both warm and cool tones have their time and place in the makeup universe, the key is to choose shades that complement your skin tone and undertone. If you’re rocking a warm complexion, reach for bronzers and contours with hints of golden or caramel hues. Cool-toned babes, on the other hand, can slay with shades that have more ash or taupe undertones. Remember, it’s all about enhancing your natural beauty, so trust your gut (and maybe a little trial and error) will help you finalize your perfect shade of contour. A few of my recommendations are SUGAR COSMETICS CONTOUR and BENEFIT HOOLA BRONZER.
How to Contour?
Grab your contour palette and get ready to work, honey! Start by sucking in those cheeks like you’re auditioning for America’s Next Top Model – this gives you a clear guideline for where to apply your contour. Using a fluffy brush (more on that later), lightly dust your chosen contour shade along the hollows of your cheeks, blending upwards towards your temples with gentle, circular motions. Don’t forget to hit the sides of your nose and jawline for extra definition!
What Makeup Brush Should I Use to Contour?
The right brush can lead you to the right contour! When it comes to contouring, the right tools can make all the difference between a success and a makeup mishap. Opt for a fluffy, angled brush for seamless blending and precise application. The angled shape allows you to sculpt and define with ease, while the fluffy bristles ensure a soft, diffused finish – because nobody wants to look like they got into a fight with their makeup bag, am I right? Remember, investing in quality brushes is like investing in your face’s future – treat yourself, you deserve it!
A few of my recommendations, which are tried and tested to the core, are PROARTE AF05, PROARTE AF11, and REAL TECHNIQUES CONTOUR BRUSH.
When to Apply Contour?
There’s no hard and fast rule of when to contour. I like to think of contouring as the final act in my makeup symphony. After moisturizing, priming, and laying down your base (foundation and concealer), it’s time to sculpt and slay. Whether you’re getting glam for a night out on the town or want to feel like a queen while running errands (hey, no judgment here), contouring is the cherry on top of your beauty routine. Just remember to set everything in place with a spritz of setting spray.
Contouring Based on Skin Type:
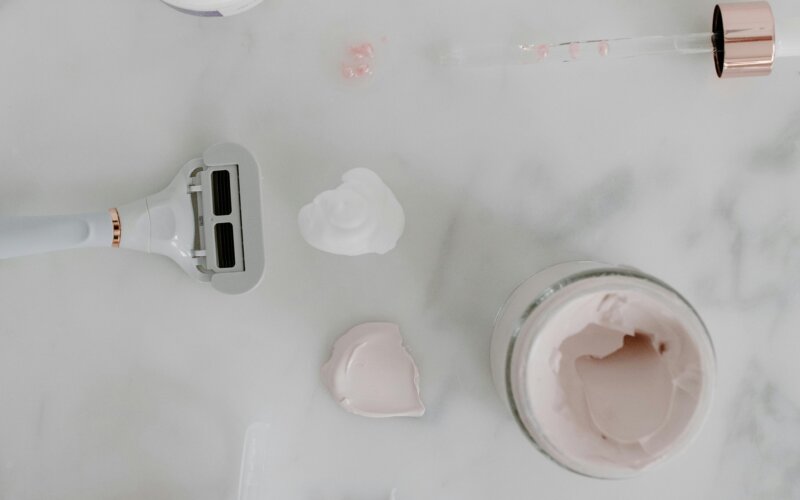
Alright, my beauties, let’s talk skin type! Whether you’re oily, dry, or somewhere in between, there’s a contouring routine that’s perfect for you. If you’re blessed with oily skin, opt for powder contours to keep shine at bay and ensure your sculpted masterpiece stays put all day long. Dry skin, babes, listen up! Reach for cream or liquid contours to add a touch of hydration while sculpting your face to perfection. And if you’re a combination skin like me, mix it up and use both powder and cream contours for a flawless finish.
Bottom line:
And there you have it, all my tips for a perfect contour – like a pro! With the right colors, brushes, and techniques, you’ll be sculpting your way to a flawless face shape in no time. So go ahead, unleash your inner makeup artist, and let your fabulousness shine – the world is your runway, and you’re ready to slay!
FAQS ABOUT CONTOURING:
Can I skip contour?
Yes! Absolutely! You can skip the contour. Contouring your face isn’t necessary, but you should use a bronzer so that your face doesn’t look flat after the foundation application, because foundation tends to even out skin tone. You can contour only when you want your face to look chiseled.
Can I contour without foundation?
If you have noticed, every face has a natural contour. So technically, you don’t require a contour without foundation. But if you want to contour, I suggest you contour after foundation, which gives a smoother application, and color placement is also even if nicely blended.
Does contouring make the face darker?
Contours are best suited with neutral or cool tones that complement your skin tone. They allow you to manipulate light and shadow, crafting the illusion of a sculpted appearance. This technique enhances specific areas of your face, adding depth where light naturally hits. Contouring accentuates these features, preventing them from being overshadowed by foundation.
What do I use instead of contour?
Contouring is a technique done with cool-toned colors for a natural, chiseled face. You can use a bronzer instead of a contour to bring back the definition of the face.
Can I contour my face without using contour?
Yes! You can contour with your eyeshadows, lipsticks, brown eye pencils, darker foundations or concealers, etc. Being a makeup artist I always multi-use my makeup products. You just need to have some knowledge, that’s it!
Stay on BeautySpade for more such tips and tricks about makeup and beauty! For a demonstration, see the video below.